The Case for Shooting in Manual Mode
I've started taking photos with my camera in its "Manual" mode. Why anyone would ever want to do that might baffle new photographers, so I've tried to explain my reasoning here.
How a Camera Works
There are three important settings in a camera that decide how the image turns out: the ISO sensitivity, the shutter speed and the aperture size. If you change any one of these, the brightness of the resulting image will change, so you might have to compensate by changing another of them. Much of basic photography is concerned with balancing these three settings.
Here's what can happen if you change them (a slight simplification):
- If you increase the ISO sensitivity (i.e. how strongly the sensor reacts to light), you get a brighter image but with more noise in it. If you decrease the ISO sensitivity, you get less noise but also a darker image.
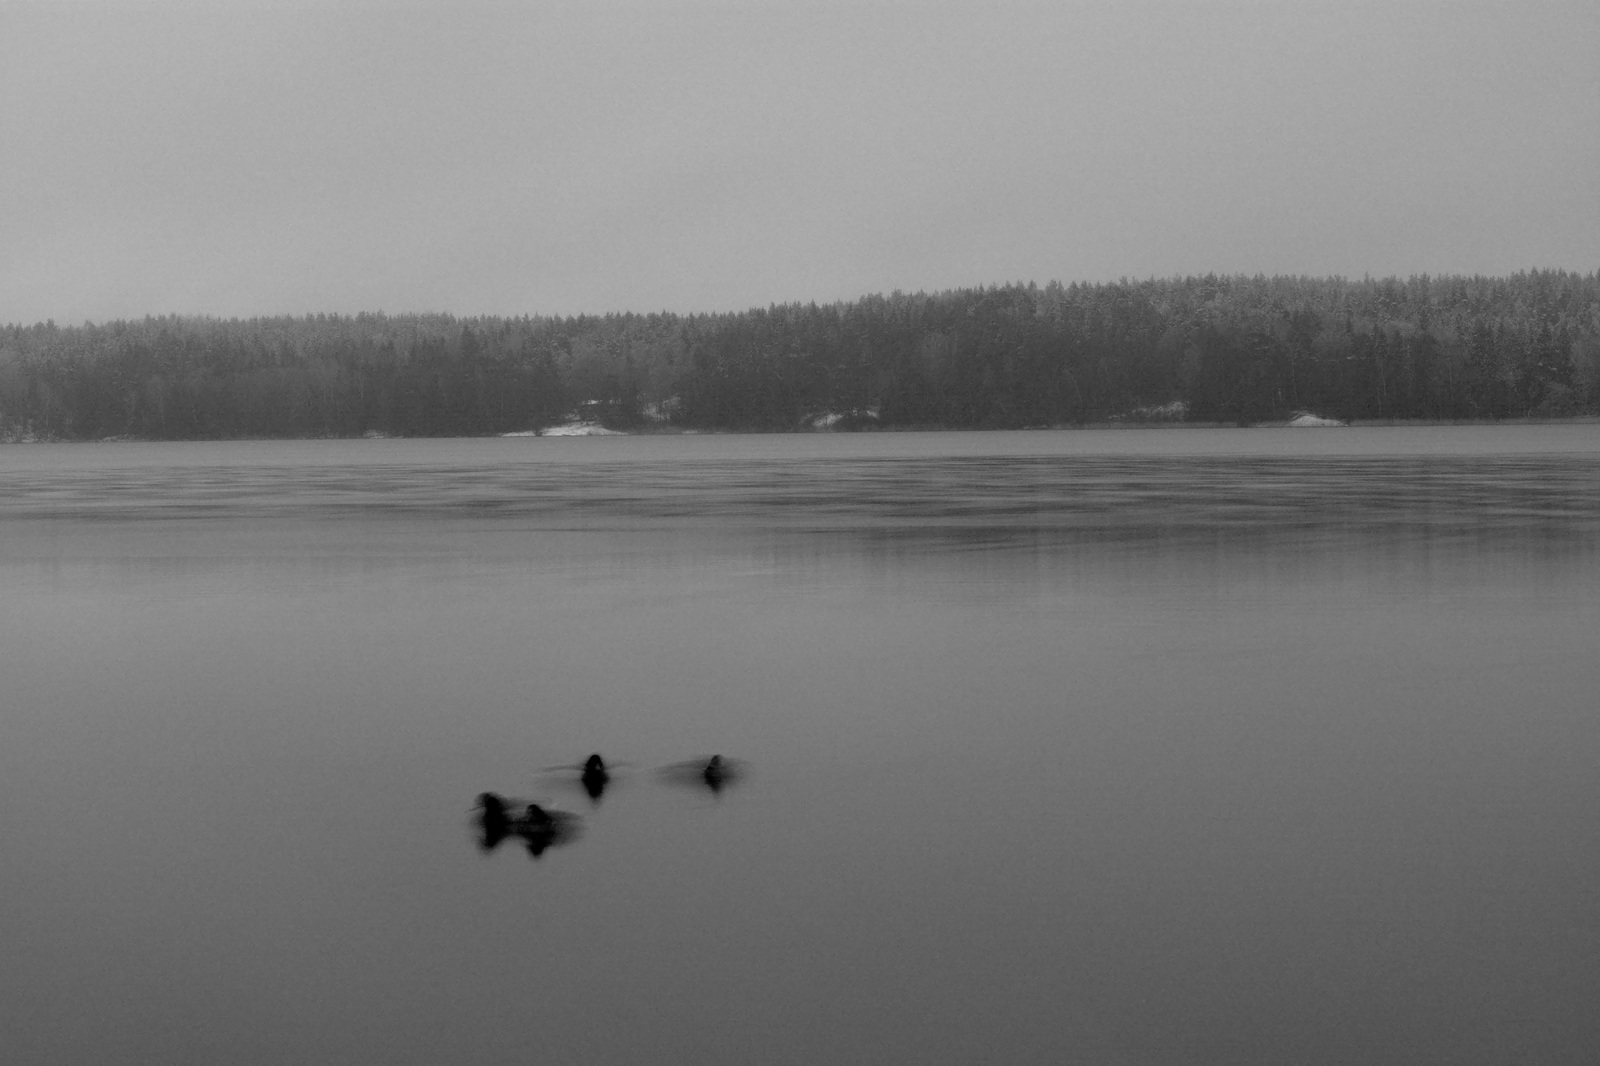
- If you increase the shutter speed (i.e. how short time the camera is open to light), you get a darker image where movement is "frozen." If you decrease the shutter speed, you get a brighter image but with motion blur. Sometimes the motion blur is so extreme that it looks more like a ghostly trail.
- If you increase the aperture size (i.e. the hole in the camera that lets in light) you get a brighter image, but also an image that is blurrier. If you decrease the aperture size, you get a darker and sharper image.
This means that if you want to freeze movement (like the ducks swimming in the picture below), you have to increase the shutter speed. But that will also give you a darker image, so you might have to increase the aperture size to make the image brighter again – but then the image will get blurrier! Good photographers constantly balance these values in their head to get something as close to what they envision as possible.

Automatic Modes
Why haven't you heard of all these values? Well, modern cameras actually adjust them on the fly for you. A modern camera looks at what it sees and adjust these values as good as it can to reach what's called "middle grey", or more commonly in photography, "18% grey". 18% grey is when the image is somewhere in the middle between pitch black and bright white.
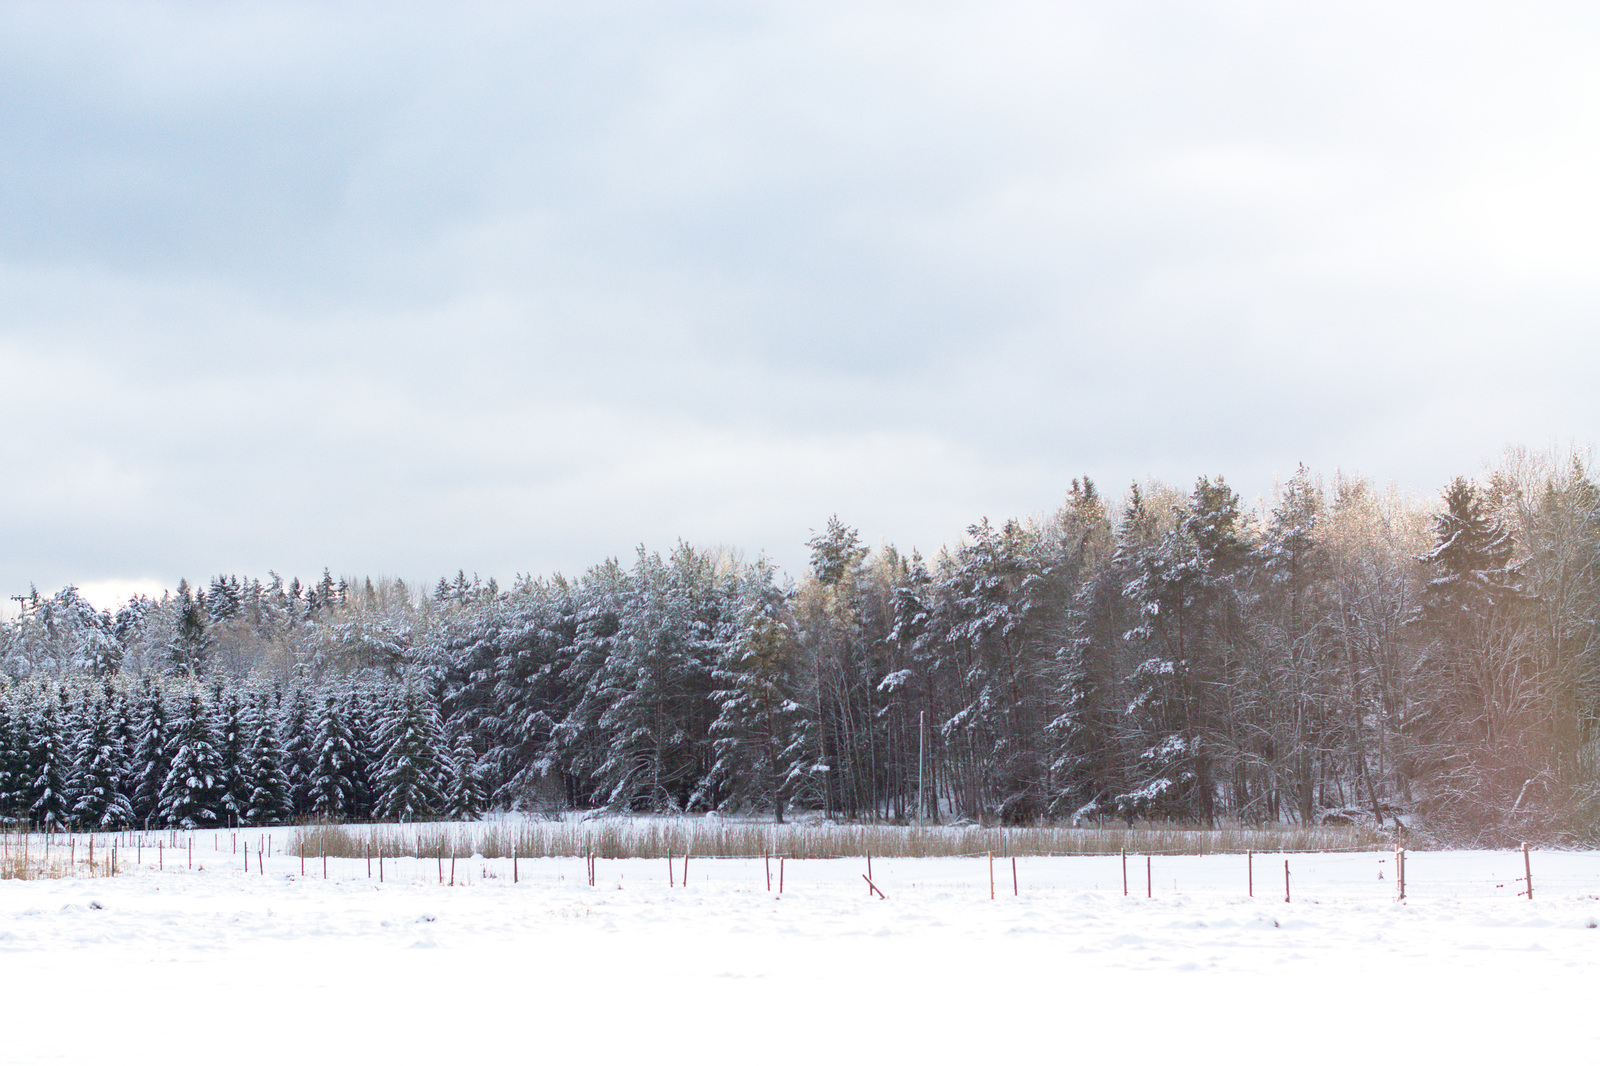
18% grey is good for a lot of pictures, but not perfect for all of them. If you take a picture of a snowy landscape in the middle of the day, for example, you probably want your picture to be a bright white. And, on the other side of the scale, if you shoot an abandoned industrial complex in the evening, you might want your image to be very dark. Whether or not 18% grey is good enough depends entirely on what kind of photograph you want to make.
So that's where exposure compensation comes in. It's a dial that allows you to tell your camera, "Look, I don't want 18% grey for this photo. I'd like something a bit brighter, please."

So when you take pictures in one of the camera's automatic modes, you take a picture, you look at it in the camera display to see if the 18% grey you got is what you want or if you want something else, then adjust the exposure compensation accordingly, and take the final picture with the correct brightness.
The problem with this is that you have to do that for every picture you want to take. First take a test shot, check the brightness of it, adjust the exposure compensation and then take the real shot. That gets tedious fast.
Manual mode
This might come as a surprise, but the solution is actually to put the camera in its "Manual" mode. In manual mode, there will be no automation – you will have to manually adjust all three settings I mentioned at the top of this post. Initially, the workflow might seem similar: you take a test shot, you look at it, you adjust one of the three settings to make it brighter or darker, and then you take your real shot.
After that is where the magic happens: In manual mode, your camera will remember the settings you just used to take a photo. So when you take your next photo, you can just take it and the camera will use the same settings you used for your previous photo. As long as the light levels in the location didn't change, all your following images will be of perfect brightness, without you having to do a thing.
That's why I prefer to shoot in manual mode. In one of the automatic modes, the camera will re-measure the brightness of the picture before every shot, so you'll have to fiddle with dials before every shot to get it just right. In manual mode, you just have to fiddle with dials when the light levels in the scene change.